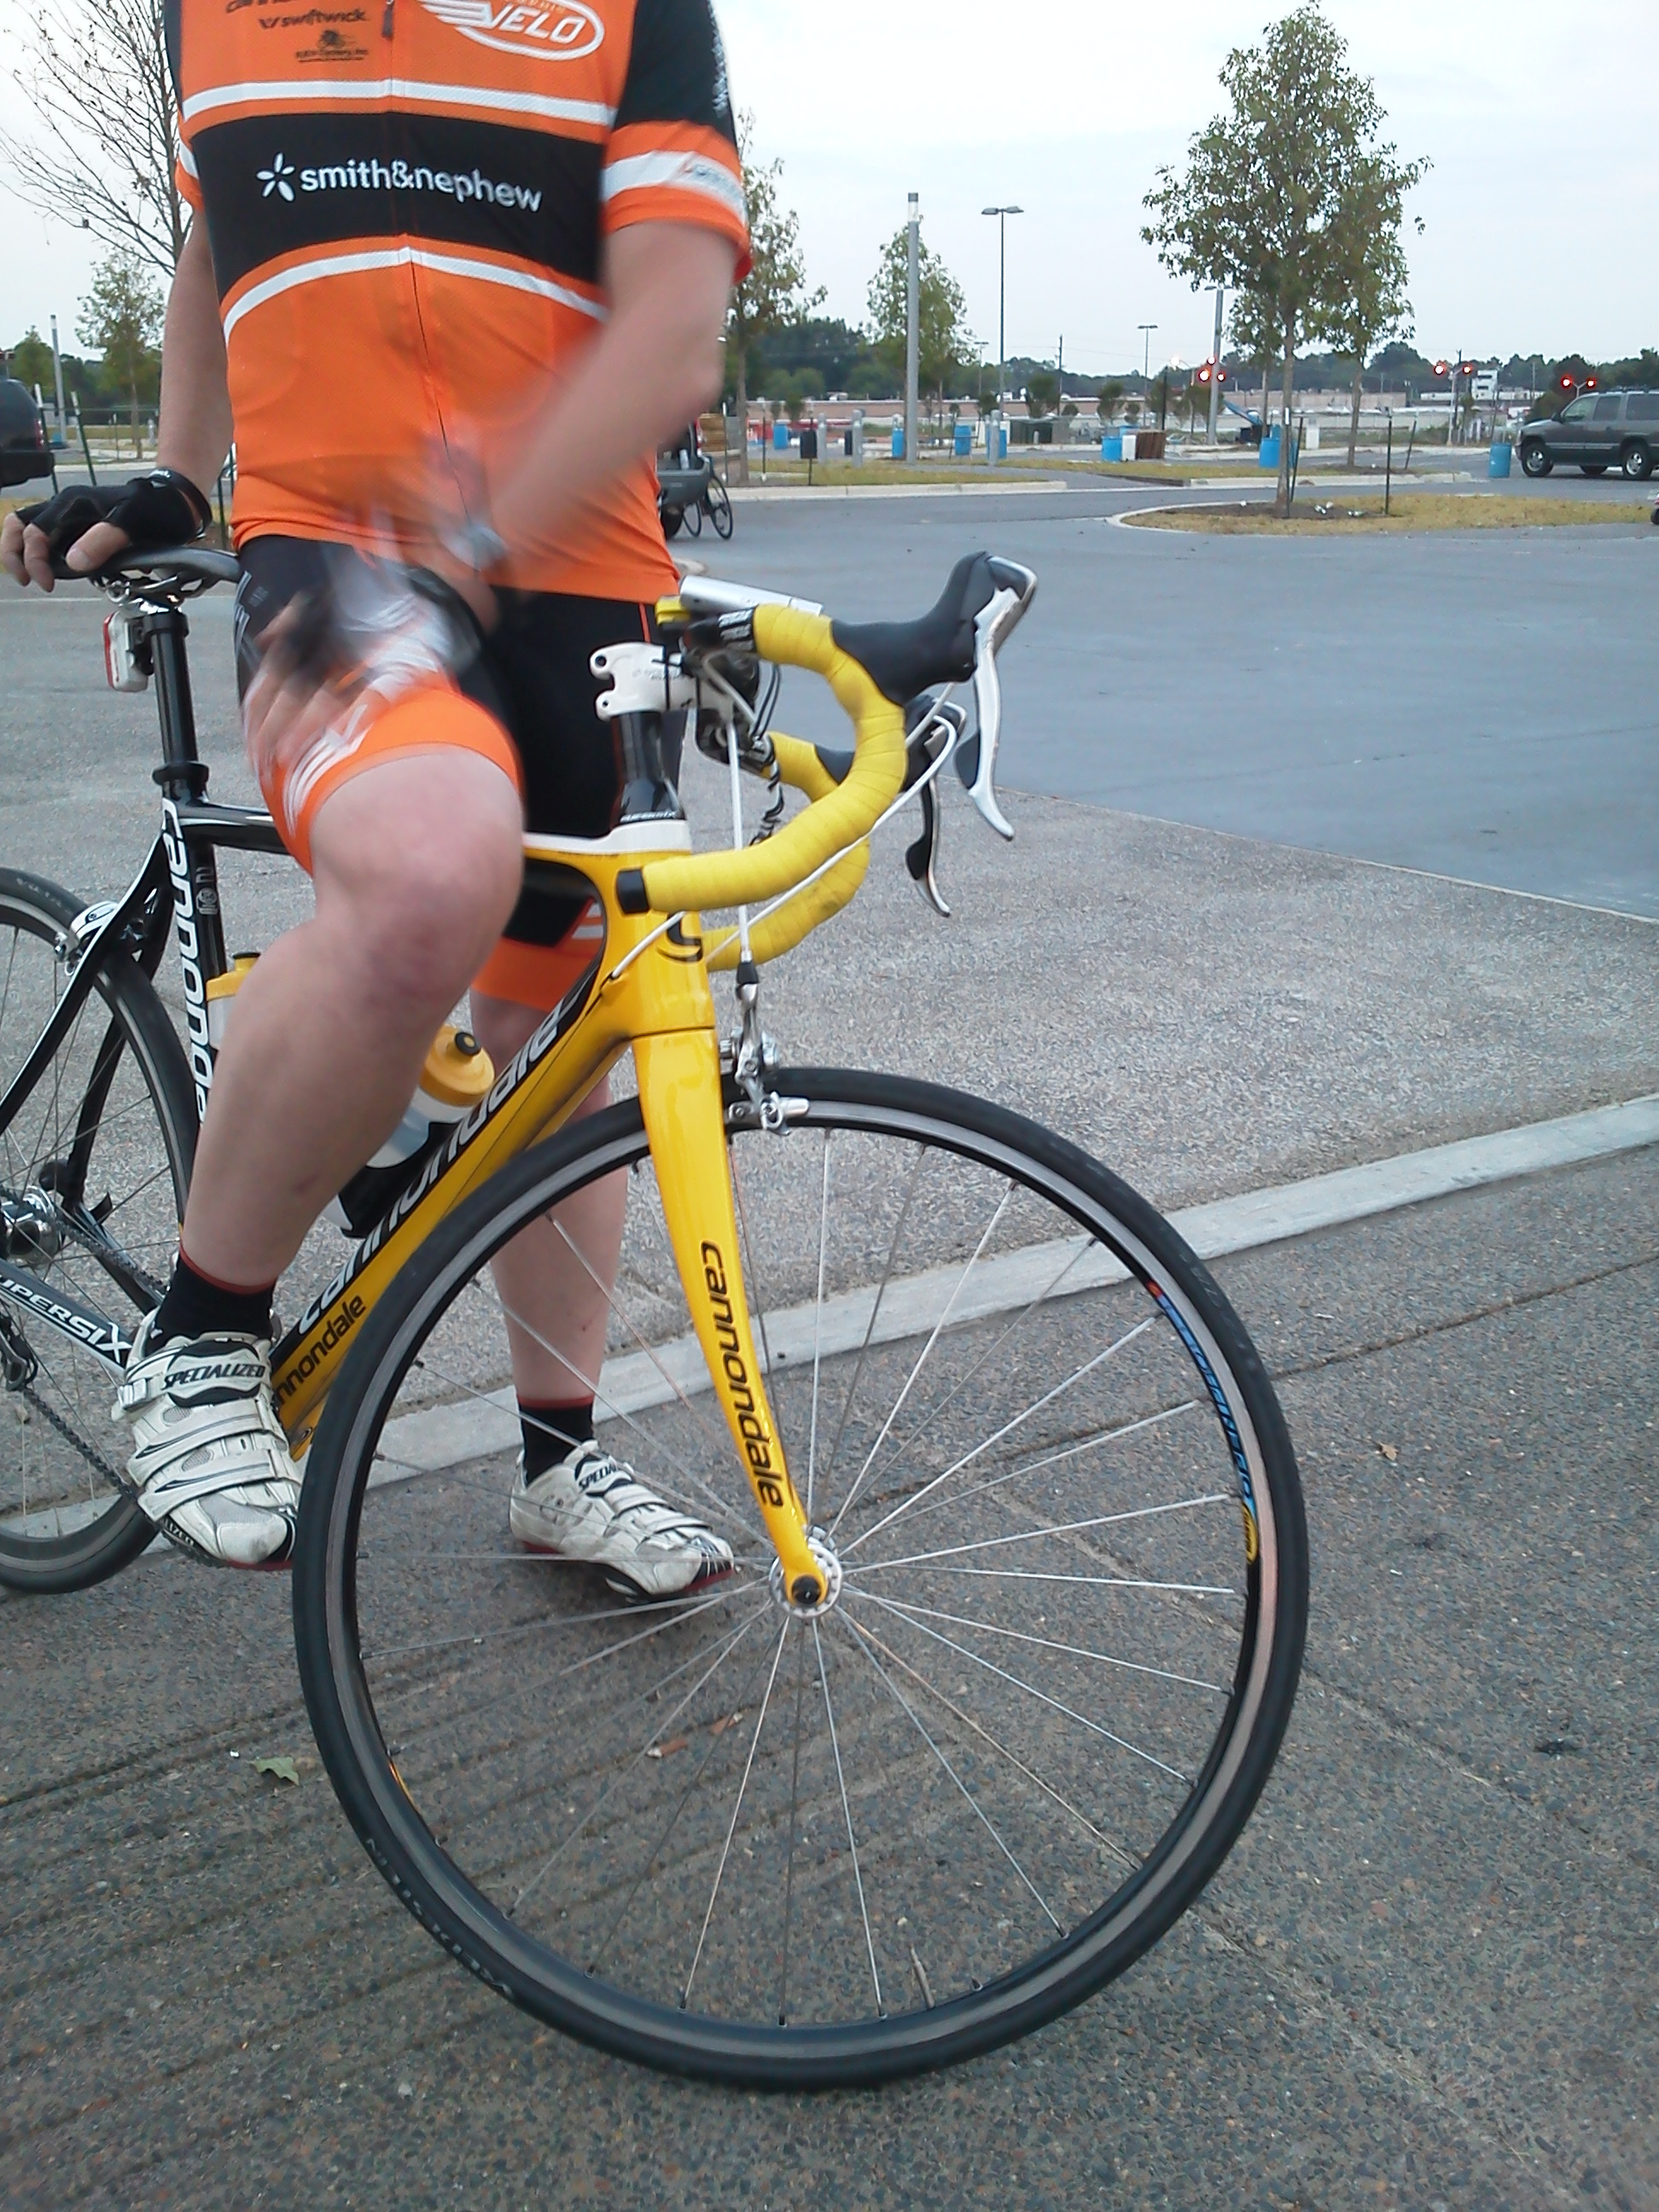
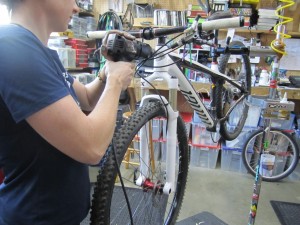
I was going to jokingly crop this photo down to just the “bad” part and label it as “why you should purchase your Cannondale at Outdoors, Inc.” However, since I’ve apparently been dubbed “Mandrea” by the person pictured below, the gloves are off.
Around the shop
Air 9 Carbon shift improvement
If you’ve been a reader for very long, you know I like stuff that is absolutely reliable with little to no maintenance. The shifting on my Air 9 Carbon has not lived up to that standard. The cable guide for the internal routing causes too much drag on both front and rear derailleur cables. However, the Air 9 Carbon is, hands down, one of the most awesome bikes I’ve ever ridden, so I’m willing to put some work into making it better. So, the following is a rundown of the modifications I made to work with the cable guide issue…
Step 1: Remove old stuff/prep frame/cable guide
– If you’ve already got cables routed, take the old cables out, but leave the piece of cable housing in the chainstay. You’ll use it to run a guide cable from the rear to the BB in order to guide the housing through later. If you have a bare frame, then you’ll need to run a cable from the chainstay hole to the BB.
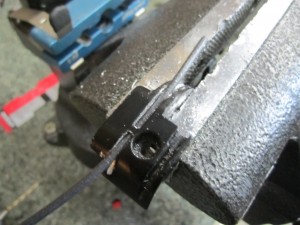
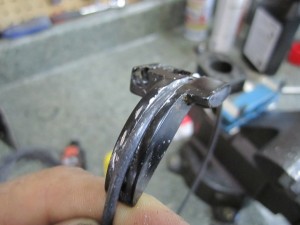
– Remove and drill the cable guide. You need to drill the front derailleur side out enough that a piece of cable liner can fit through it. I clamped mine in the vice at the shop and drilled it for a piece of Nokon liner.
– Next, you have to drill into your headbadge. I chose to go with the side opposite the shifter. I originally had my shift cables routed to NOT cross from headbadge to cable guide, but later routed both the shop demo bike and my bike to be crossed. Crossing the housings in front of the bike and the cables in the downtube results in less bend in the out-of-bike housing from shifter to headbadge, and better shifting. The drilling isn’t all that bad. I just started with a small drill bit and moved up from there until my cable housing would fit through. Periodic blasts of compressed air are good to clear the shavings.
Step 2: Run the housings/cables
-Do the front derailleur first. It’s much easier to run a cable through the frame first- before you’ve run solid rear housing from front to back. I made the mistake of reversing the order when I modded the shop demo bike. Route the cable as normal, but have a piece of cable liner running through the cable guide and out the frame hole leading to the front derailleur.
-Next, measure out a piece of derailleur housing to run from the shifter, though the frame, and through the chainstay. Because of the need to run a guide cable, you need to be pretty precise- if it’s cut too long, you won’t be able to get the end of the guide cable through the entire piece of housing, and getting the housing through the chainstay will be next to impossible. Based on the recommendation of an awesome mechanic from Little Rock that I met at the Ouachita Challenge, I used Jagwire L3 coated housing.
-Run a fresh piece of derailleur cable through the old cable housing you left in the chainstay. Then, pull the housing out and leave the cable (it’s now run from the rear chainstay hole to the BB).
-Run the cable housing from the headbadge to the BB. It will try to go into the top tube, so you’ll need to bend it some to make it aim towards the downtube.
– Once the end of the housing is in the BB area, run your guide cable through the housing. If you’ve cut the housing length right, the cable should be just long enough to pop out of the housing end outside the headbadge. If you’ve got an XL frame, you may need to use tandem cable. Clamp the end of the cable (the one that’s coming out of the end of the housing outside the headbadge) with vice grips. Make them tight- this will allow you to pull on the cable while guiding the housing through the chainstay.
– Now, the hardest part- getting the housing through the chainstay. It takes some finesse mixed with force, but through gentle tugging on the guide cable and pushing on the cable housing, you should be able to get the housing through the chainstay and to the rear derailleur.
-Once that’s through, you’re essentially done with the hard part. Trim the cable housing to be just right, adjust your derailleurs, and enjoy your newly awesome shifting.
I’ll get some more photos and reports up once I’ve ridden a couple of times. Initial impressions are that the shifting is MUCH better than before. Time will tell if the liner for the front cable will hold up. Email or comment if you have any questions!
Maintenance
I spent most of Wednesday prepping bikes and body for Ouachita. After making that last post (which, I noted, got a lot of “crickets” from the peanut gallery), I went for a quick spin, ate breakfast, then headed up to the shop to hang around and work on bikes. After getting Ryan’s Titus ready to go (wheel true, rear brake bleed), I left for a massage, then came back to work on my bike. Mine wasn’t quite as simple.
Remember my mention of XX shifting issues? I figured I’d try a few tips found on the internet and from conversation with Mike, the area Niner rep. This involved swapping my shift cables for non-coated, re-routing them to cross in front of the bike, and adjusting the B screw. This meant I needed to remove the crank, which I wanted to do anyway since the bottom bracket was so incredibly noisy during the 6 hour race.
I knew things weren’t going to be good when I had to wail on the crank with a rubber hammer to remove it. I quickly found the source of the noise- the BB30 bearings (especially the non-drive side) were partially seized and gritty feeling. Once I removed the CYA cups, I pulled the bearing seals. The bearings were filled with water (presumably from when I washed it earlier in the day). I had no idea that the seals were that loose, so it obviously wasn’t the first time they’d been fouled with water. Lucky for me, they weren’t rusted. I cleaned them as best I could, and re-packed them with grease. The drive side spins like a champ now, but I think that the non-drive bearing might not be so lucky.
The cable re-route was pretty straightforward. You have to remove the cover from the XX shifter to change cables out, which is annoying, but not difficult. The routing on the front end feels great. Unfortunately, the BB cable guide and piece of housing that runs through the chainstay creates a lot of friction for both derailleurs. If you grab a cable from the BB and shift before those parts are routed, there’s no drag on the cable. Once the cables are run through the guide in the BB and through the second housing, the drag is very apparent on both the front and rear. I really don’t want to run solid cable housing outside of the bike (or inside, for that matter- apparently some people are drilling their headbadge and doing that), but the shifting is already a little slow going to higher gears in the back. If it causes any more problems, I might have to go to solid housing as a last resort.
I finished my maintenance off with bleeding the X-loc on the suspension, which was previously feeling as if it was only working halfway. Today’s ride will tell if the efforts to improve the shift performance were successful. Unlike last time, when I was massively under-prepared for Spa City, I’m taking the Jet9 with me for backup. So, if my band-aid-ed bottom bracket decides to explode during tomorrow’s pre-ride, then I’ll have a plan B.
As far as body prep goes, I’m doing better than my bike. Yesterday’s tune-up ride yielded some nice power numbers and left me wanting more. The massage on Wednesday was excellent, and I believe will start to be a weekly addition to the my bodily upkeep. As the chiropractor said when he was laying in to one of many of the knots in my upper back- you’ve gone well past the point of exercising for health, and now it’s starting to break your body down. You have to be as vigilant in the maintenance of it as you are of the bike you race.
Point taken.
Summer guide to bike shop etiquette
Now that bikes are coming out of hibernation, my shop is full of things that need to be fixed… NOW. We have a schedule, and we try to be fair to everyone that comes in, which means that if you walk in right now and need a tune-up and new cables on your bike, you’re going to land mid-week someplace. In a month, it’ll probably be two weeks. You see, not only are the two mechanics in your shop working like hell on the bikes that need to be fixed, they’re also helping customers, answering the phone, and building new bikes to replace the ones that have been sold.
We want nothing more than to make you happy. We want to make your bike work more perfectly than you could hope for, and we want to help you spend money on our products (if your shop doesn’t want that, then find a new shop). However, there are a few things you can do to assist us in this process:
1. wash your bike off. I’m not talking full-on soap and water scrub-down, I just mean hose the chunks of dirt and/or sweat & energy drink off and let it dry before you bring it in. Not only will this help me keep my shop clean, it will also make your service happen faster since I won’t have to do it myself.
2. Need an emergency repair the day before an important ride/race? I feel your pain. I’ve been in the same situation, and I want to take care of you. First, see #1. Second, realize that you are jumping in line, so I’m probably going to end up staying late/coming in early to work on your bike (or on the bike I was working on when you came in for that on-the-spot repair) in order to keep both you and the jumped customers happy.
3. About tips: We accept them, but don’t expect them. We greatly appreciate them. We will usually reciprocate this appreciation next time you bring your bike in for service by doing things including (but not limited to) working on your bike first thing in the morning on its scheduled repair day, lubing/wiping down your drivetrain, wiping down your frame, etc. You get the idea. Tip or no tip, I can assure you that you’ll always get exceptional service at my shop (if your shop doesn’t want that, then find a new shop).
4. When we’re busy, and you need help- say you’re a regular customer (or any customer, for that matter), and you need help picking out X product. If you come in at 1:00 on a Saturday, we’re going to be slammed. We want to help you, and we will, but it’s going to be after we help the person that came in before you. It’s only fair. Please don’t get mad if we don’t immediately drop what we’re doing. Hint- we aren’t nearly as busy on weekdays.
5. When things don’t go as planned: Let’s face it, sh*t happens. Sometimes once we get into a repair, we realize that it’s worse than expected. We might have to order a part or send something off for warranty repair/replacement. Once again, we want your repair to be perfect, but we can’t stock everything. Getting annoyed on the phone when we call and tell you we have to order something isn’t helping either of us. Also, once we place an order/ship a part off, then it’s out of our hands. Example: This winter, a snowstorm delayed a big shipment from our main distribution place. Some repairs had to be delayed. We can’t control the weather or UPS’ reaction to the weather, so please don’t yell at me when it prevents your part from arriving on time.
6. Don’t request a certain mechanic. First off, it’s rude and somewhat insulting to the other mechanics in the shop. Second, we all know our strengths and will generally work on bikes accordingly. We will always treat your bike as if it is our own (if your shop doesn’t want that, then find a new shop). If you still only want one mechanic to work on your bike, then you need to approach that mechanic privately to discuss this.
Hopefully this provides some insight into what your mechanic is thinking when you walk in to the shop asking for the impossible. We would love nothing more than to do that for you (if your shop doesn’t want that, then find a new shop), but it takes a little understanding on your end as well. Happy trails!
